To have a solid and durable slab or tile terrace, laying on pedestals must follow a few simple steps. Easy and quick to install, the pedestal method does not require any special skills. Plot-discount.com gives you all the steps to succeed in laying your terrace perfectly in one afternoon!
Preparing the substrate for laying a tiled terrace
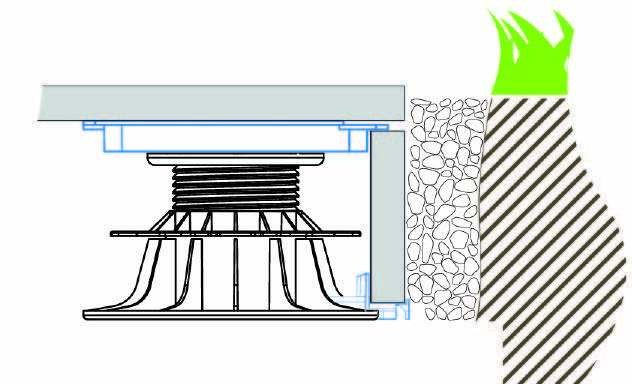
Installation on concrete paving, existing terrace
If you want to build your terrace with pavings or tiles on a concrete paving, the only check to be made is as follows: ensure that the heights available at the thresholds are at least 3 cm.
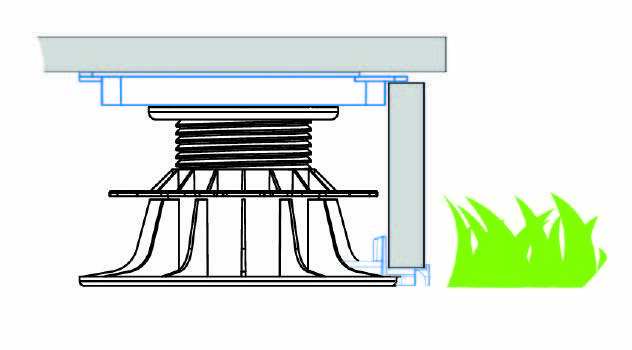
Laying on rough ground
After checking the area to ensure that it is clean and stable, it will be necessary to follow a few simple steps before you can install your terrace pedestals.
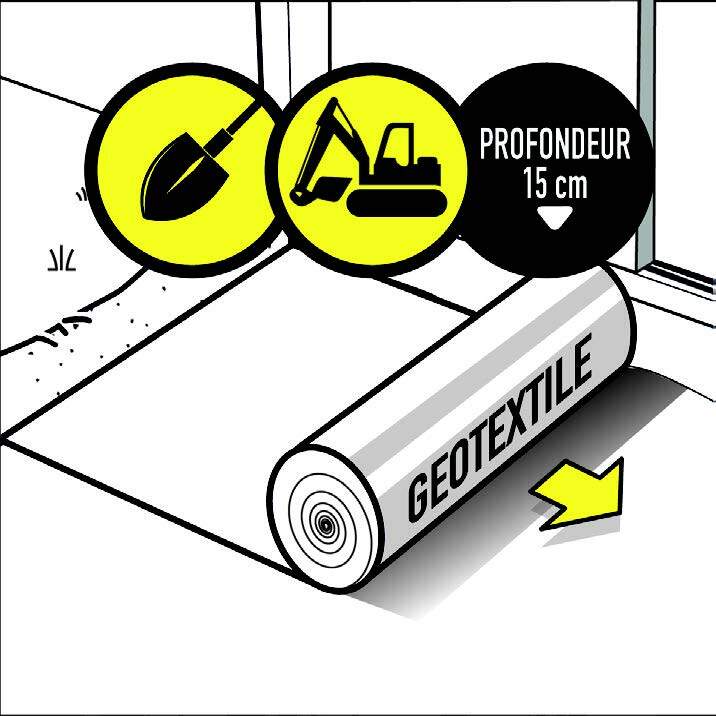
After making a clearance of about 15 cm, place a geotextile to prevent the growth of weeds under your terrace.
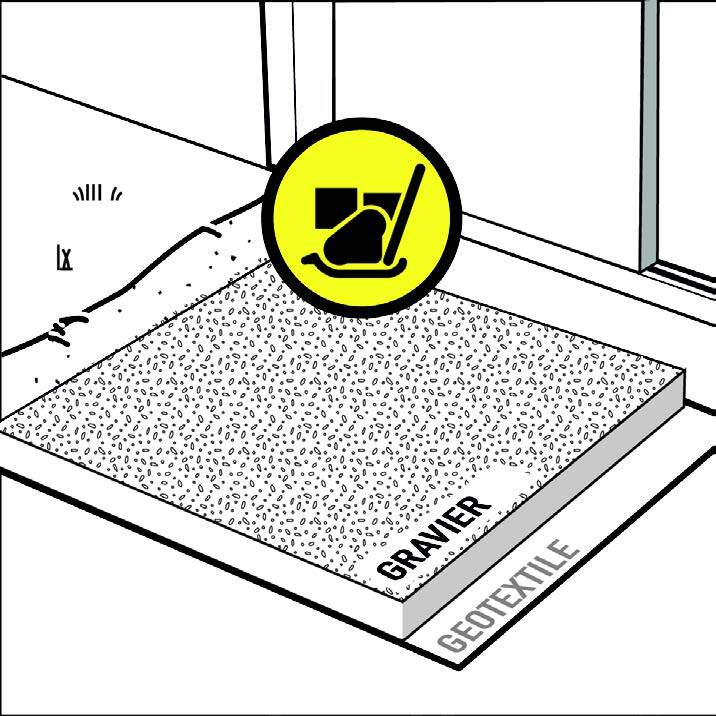
Create a layer of gravel to fill your disbursement; and compact until a flat, loose soil is obtained.
Laying a paving terrace on pedestal
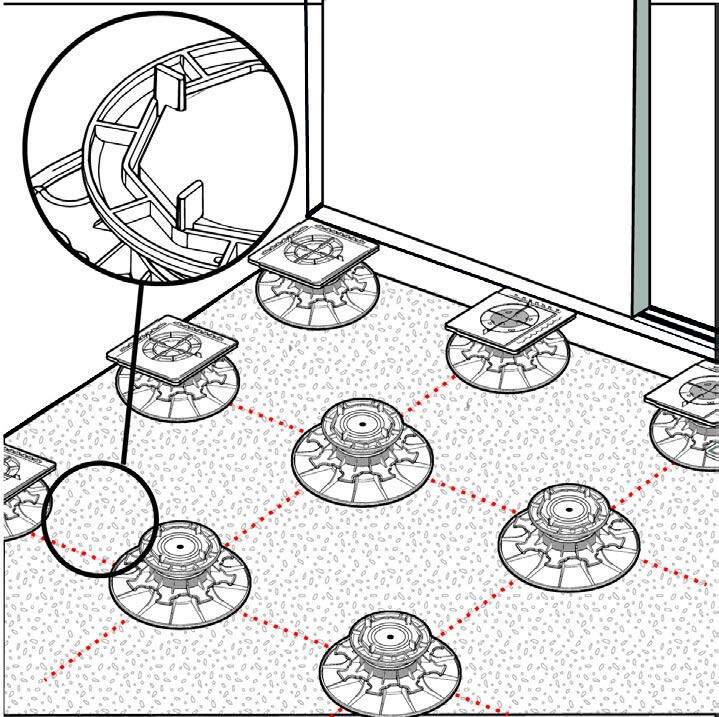
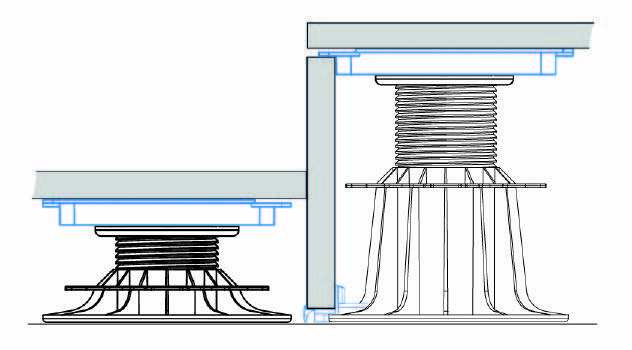
1. Place the pedestals and adjust their height
Place the pedestals on your surface, respecting their spacing depending on the type of installation desired.
Adjust the height by turning the nut by hand. This can be changed down to the millimetre.
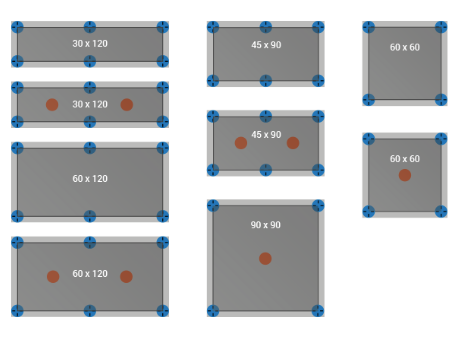
HOW MANY PEDESTALS PER PAVING?
"Classic" installation: 1 pedestal per corner (4 pedestals/paving)
"Reinforced" installation: 1 plot per English + 1 or 2 additional pedestals in the center (5 or 6 pedestals/paving)
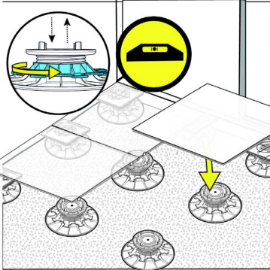
2. Install the tile covering
Lay the pavings in tiling, grating against the spacers of the pedestals:
Create invisible finishes for a paving terrace
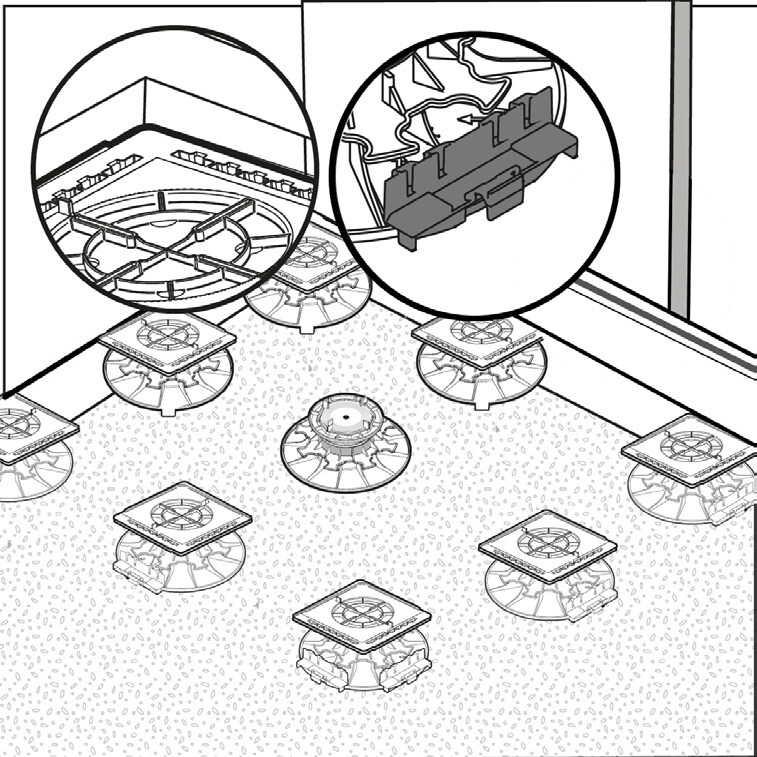
Several finishes are possible by combining the side trim support and the paving plate.
Several steps to follow:
Position the cladding support on the base of the pedestal and clip the paving plate on the head of the pedestal
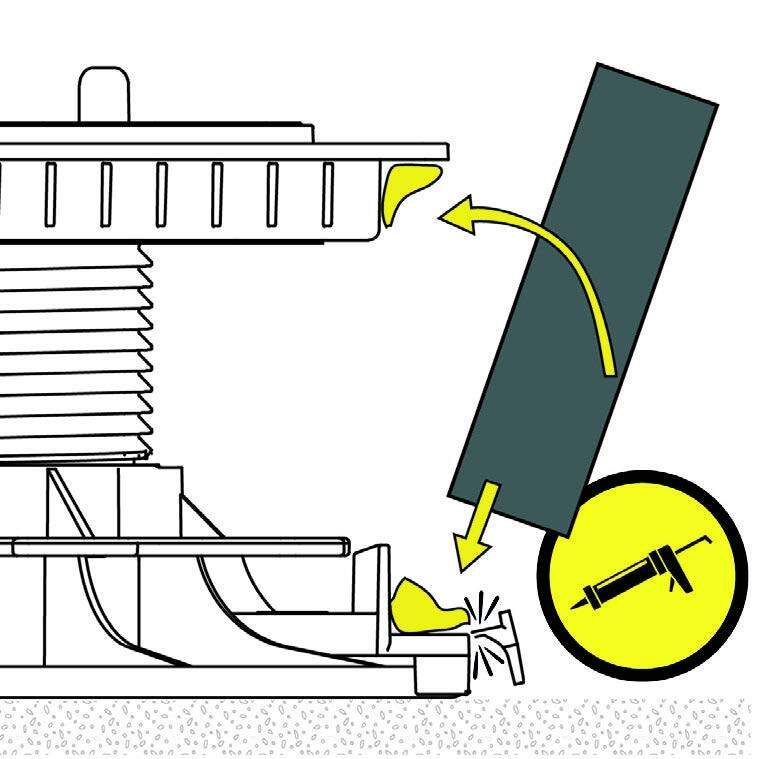
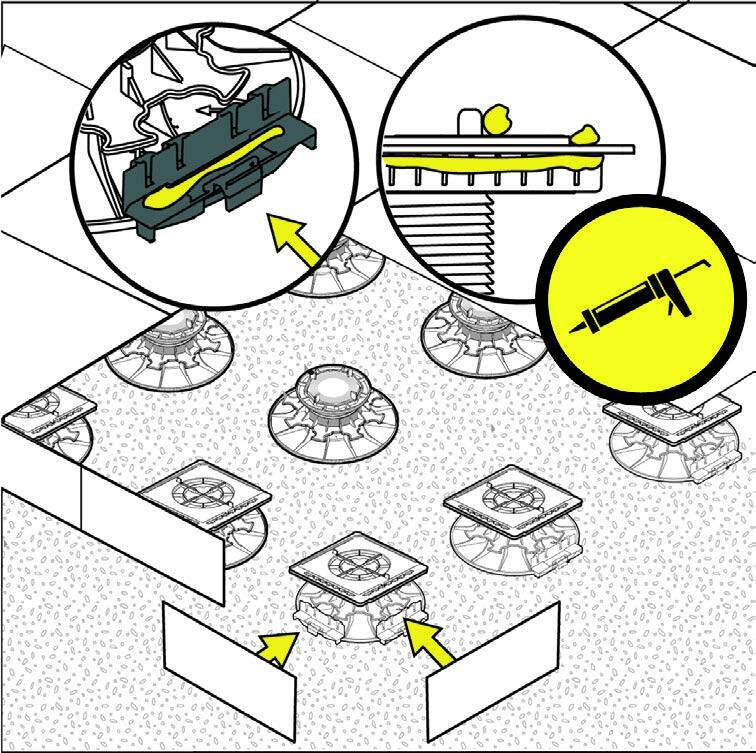
Apply dots of glue to the intended location on the cladding support and on the slab plate
Slide the side paving vertically into the slot provided by pressing on the glue dots previously applied
To maintain the paving in the upper part, you just need to put glue on the glue traps located on the edge of the paving plate.
STEP 1
STEP 2 & 3
STEP 4
Précédent
Suivant
Other configurations are possible with a paving plate and a trim support: