
€1.45
€1.70
Available stock

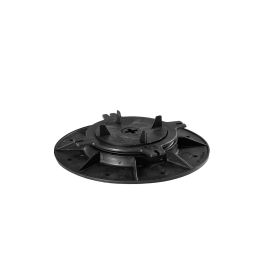
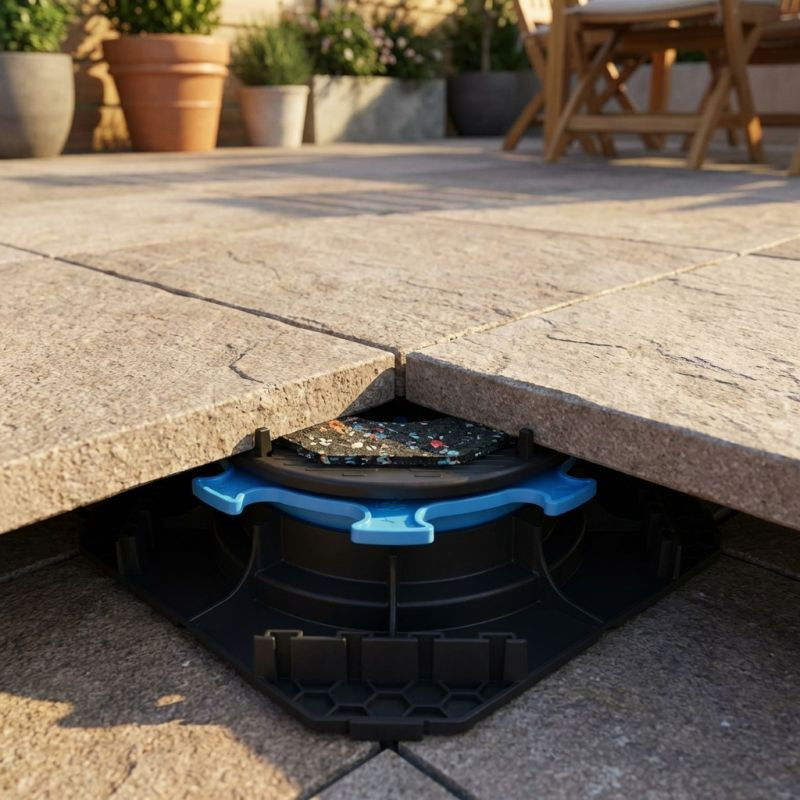
Choosing the right decking pedestal for pavers ensures the durability and stability of a patio made of slabs, tiles, or cobblestones, regardless of your project layout. At Plots Discount, we offer a wide range of adjustable pedestals and self-leveling pedestals specifically designed for installing outdoor slabs in porcelain stoneware, tiles, concrete, or reconstituted stone. Thanks to their practical features, these decking pedestals are ideal for both new construction and renovation projects, providing a perfect solution when the surface needs to be completely flat or slightly sloped.
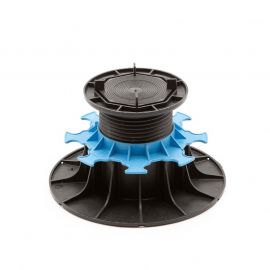
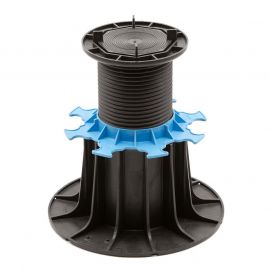
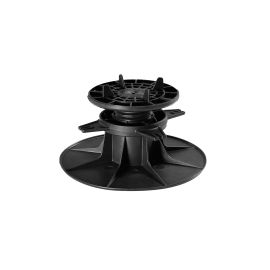
Our selection of adjustable pedestals comes in various heights, from 10 mm up to over 500 mm, depending on the model and adjustment needs. These pedestals, mainly made of PVC, offer high mechanical resistance — typically supporting over 1 ton per pedestal. Market-leading brands like Jouplast and Cleman ensure optimal compatibility with all types of outdoor slabs. Self-leveling models are recommended for compensating uneven surfaces, especially on irregular or sloped terrain, simplifying installation without complicated adjustments.
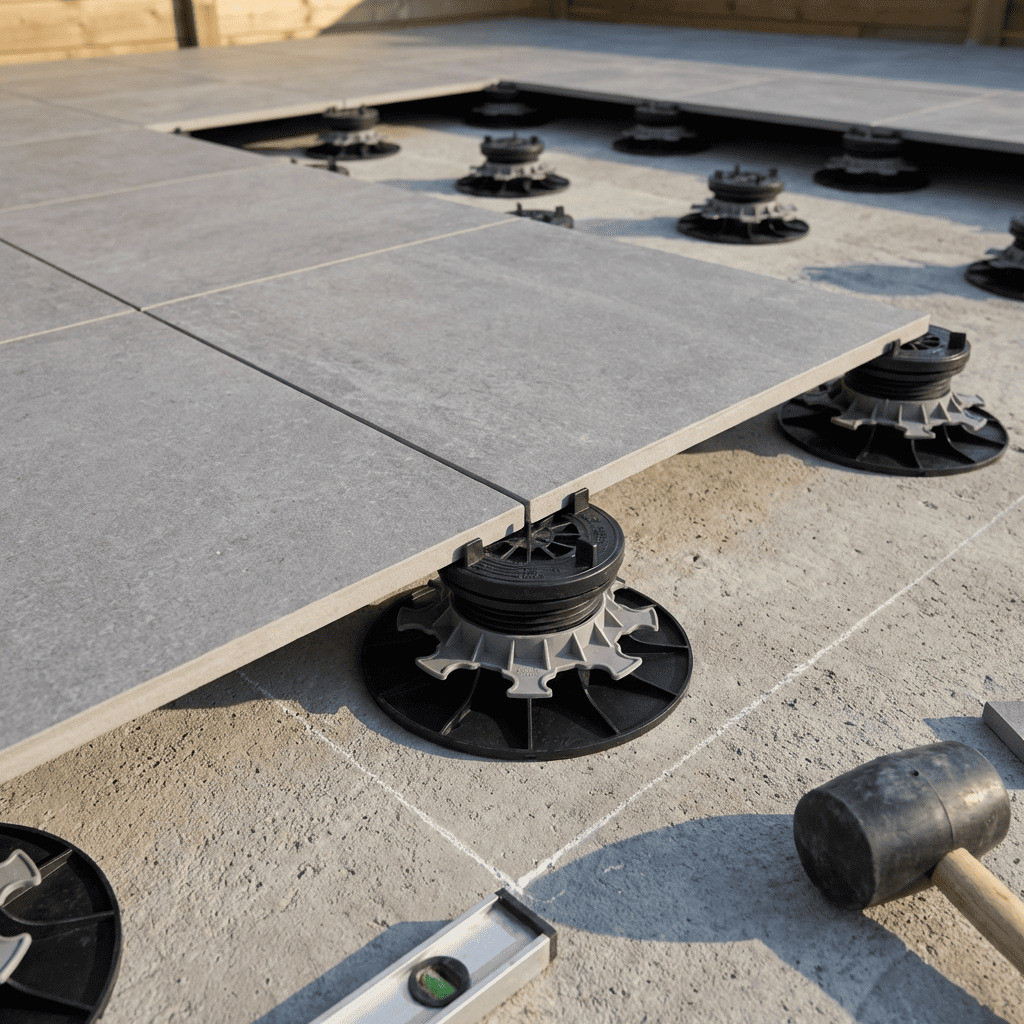
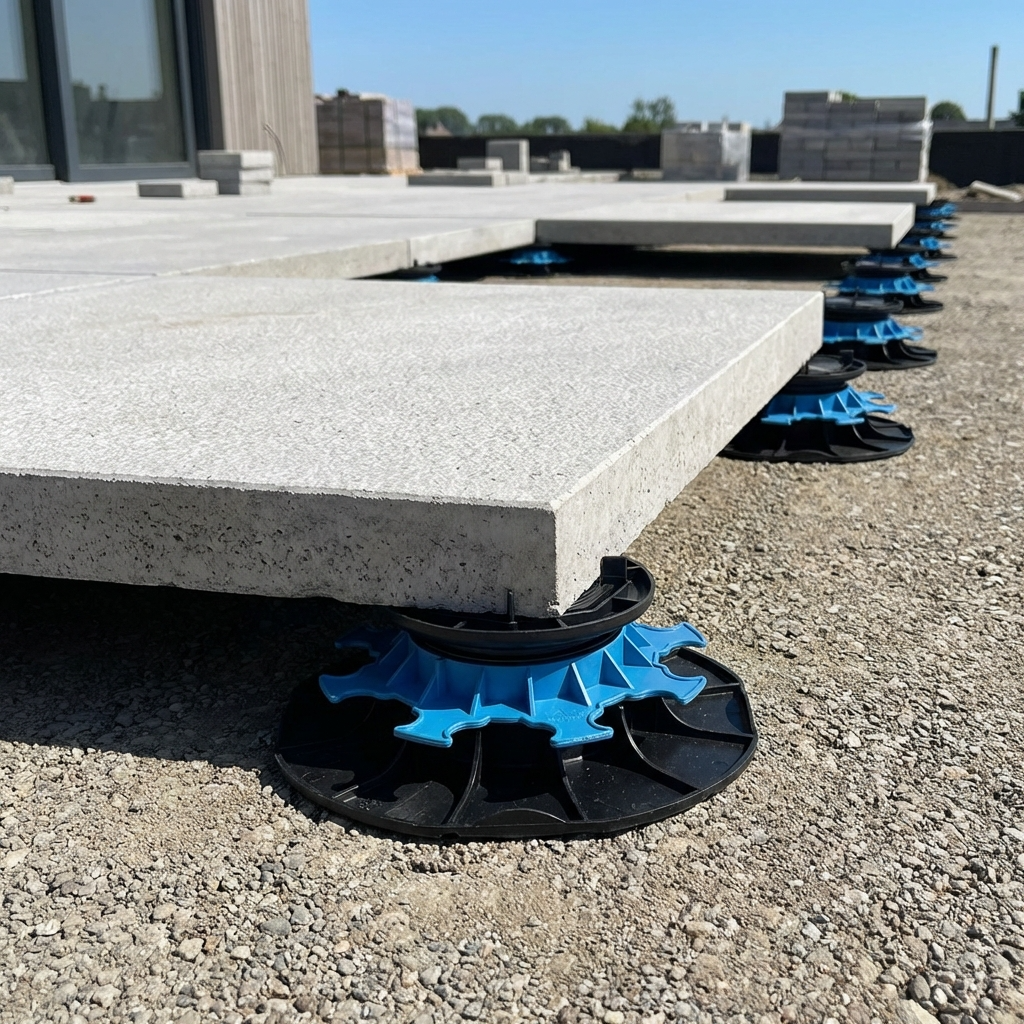
Our decking pedestals for pavers are designed to accommodate a wide range of materials. Whether it’s porcelain stoneware slabs for a modern patio, outdoor tiles, or concrete pavers, the pedestals provide stable installation while allowing airflow and water drainage beneath the terrace. Cleman support plates, Jouplast PVC pedestals, and pedestal extensions are essential accessories to adjust height and ensure compliance with DTU installation standards.
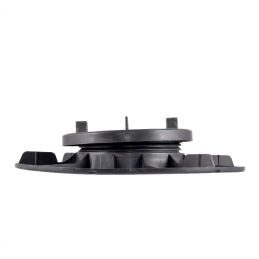
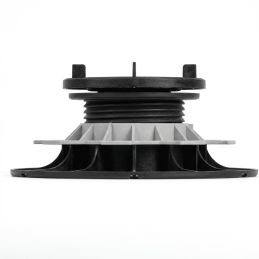
Installing a slab terrace on pedestals offers numerous advantages: easy installation, no glue or screed required, full removability for access to utilities or maintenance, and fast assembly. Adjustable pedestals are placed directly on a concrete slab or stabilized ground, with precise height adjustment via a screw system. Pedestal extensions add modularity and allow height adjustments according to project specifics. Each pedestal has heads with wings to securely hold each slab in place, ensuring stability and a neat finish.
Ordering your decking pedestals for pavers from Plots Discount means benefiting from immediately available stock and free delivery to your home or construction site on orders over €200. All our products, from Jouplast adjustable pedestals to Cleman support plates and accessories, are carefully selected for strength, durability, and compliance with current standards.
Plots Discount focuses on technical expertise and customer support for both private and professional clients. Our team guides you in selecting the pedestal best suited to your project, from choosing an adjustable pedestal to the optimal configuration (self-leveling pedestals, extensions, support plates…), ensuring a safe and compliant slab terrace on pedestals.
Enjoy excellent value across our full range, with frequent promotions and special offers, plus direct access to expert advice. Choosing Plots Discount ensures you stay within your patio budget without compromising on quality.
Calculate the total height needed, taking into account the slab thickness, pedestal system (adjustable, self-leveling), and any extensions. Correctly positioning the support points on the surface ensures a stable final result, in line with DTU recommendations.
Adding acoustic insulation accessories, support shims, or stabilizing plates improves comfort and terrace longevity. Our acoustic pads for pedestals reduce impact noise and enhance long-term slab stability.
Our decking pedestals for pavers are tested to meet load requirements and DTU standards. Make sure to space pedestals according to slab size (typically 40–60 cm) and check that each slab is properly supported for maximum safety.
With Plots Discount, complete your slab terrace on pedestals project with a full range of products and specialist advice for every step, from choosing the adjustable pedestal to installation.
Reference: JOU-IH080140DF50000

Reference: JOU-IH029039DSN1000
Reference: JOU-IH040060DF50000
Reference: JOU-IH140230DF40000
Reference: JOU-IH065095DSN0000
Reference: JOU-IH020030DC20000