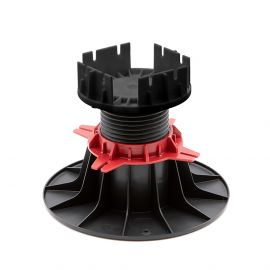
Reference: JOU-IH040060LF40000

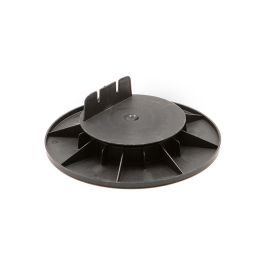
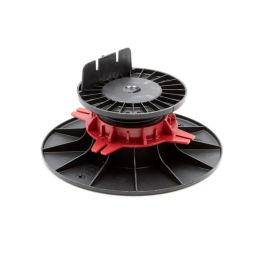
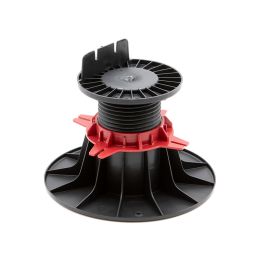
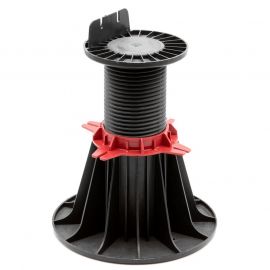
Adjustable wooden terrace pedestal 40/60 mm - ESSENTIEL range - Jouplast
€1.95
Available stock